
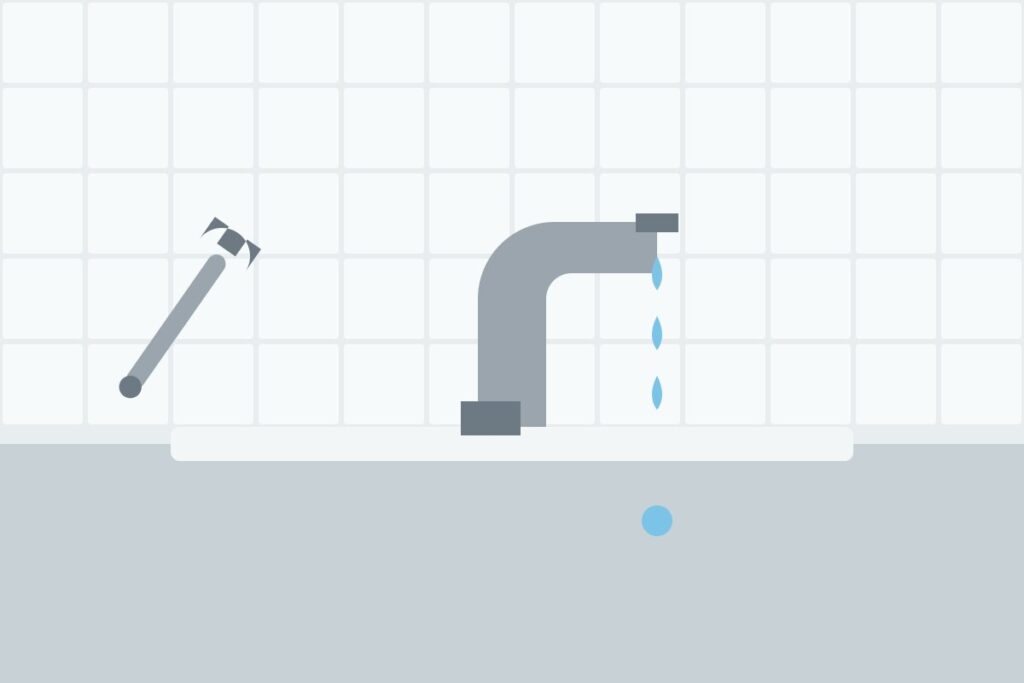
Fixing a Leaky Faucet: What to Check First
A drip may seem minor, but over weeks it adds up to a lot of wasted water, and it can stain the sink. Fortunately, most leaks come from a worn rubber washer, seal, or cartridge, and replacing them is a manageable job for a beginner.
Work out which type you have
Faucets generally come in four designs: compression (separate hot and cold handles that screw down), cartridge, ball, and ceramic disc. The type decides which parts you will need. Take a photo before you start, and bring the old part to the shop to match it exactly.
Step 1: Turn off the water
Close the shutoff valves under the sink. Turn the faucet on to release any pressure, and put the plug in the drain so small screws do not disappear.
Step 2: Remove the handle
Prise off the decorative cap, undo the screw underneath, and lift off the handle. You may need to loosen a nut to reach the inner parts.
Step 3: Replace the worn part
- Compression: replace the rubber washer and the small O-ring on the stem.
- Cartridge: pull out the cartridge, note its orientation, and fit a matching new one.
- Ball or disc: replace the seals and springs, or the whole cartridge, using a kit made for your model.
Step 4: Reassemble and test
Put everything back in reverse order, open the shutoff valves slowly, and check for drips. A small amount of plumber’s grease on rubber parts helps them seal.
When to call a plumber
- The shutoff valves will not close or are corroded.
- The faucet body is cracked or heavily corroded.
- You see water leaking from under the sink or inside the wall.
- The leak continues after replacing the parts.
Most drips can be fixed in under an hour, so it is worth trying before you call in a professional.