
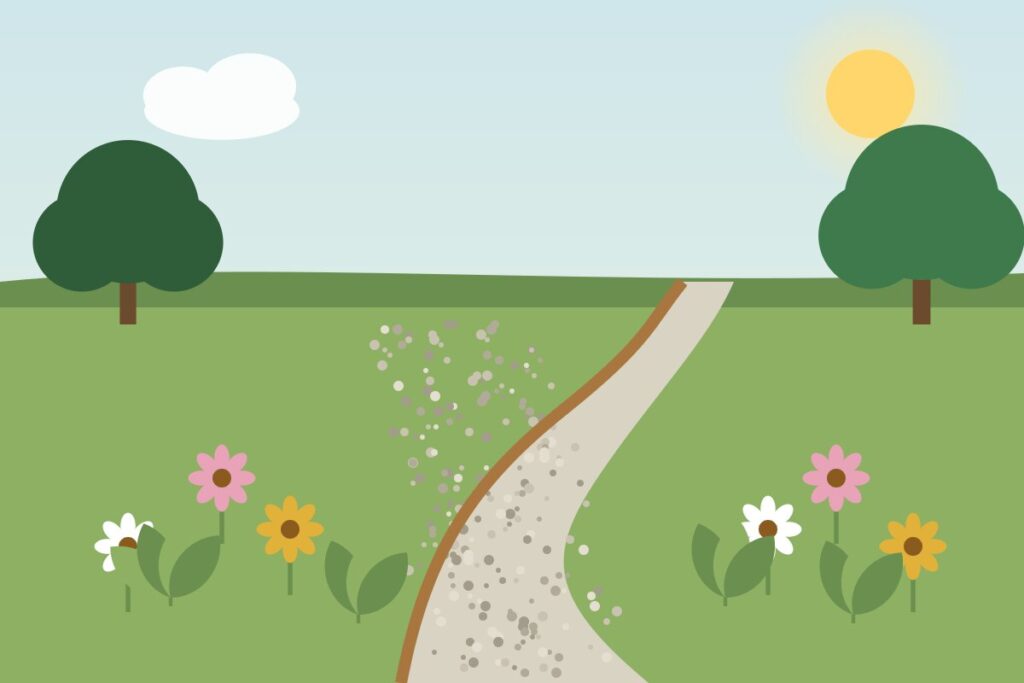
Laying a Gravel Path Step by Step
Gravel paths suit informal gardens and are one of the more affordable ways to add structure. They drain well and can be built in a weekend. A path that is built properly stays neat for years, while one thrown straight onto the soil quickly gets muddy, weedy, and uneven.
Before you dig
Check for buried utilities before excavating. Many countries have a free service for this. In the United States, for example, you can call 811. Avoid digging where cables or pipes may run.
Plan the route
Mark the path with string or a garden hose to see how the curves look. A width of about 90 centimetres (3 feet) allows two people to walk side by side comfortably. Keep gentle curves for a natural look.
Step by step
- Excavate to a depth of about 10 to 15 centimetres (4 to 6 inches) and level the bottom.
- Install edging along both sides, using metal, treated timber, or stone, so the gravel stays in place.
- Add a weed barrier if you like. Some gardeners prefer a thick base layer and regular weeding instead.
- Spread a base layer of crushed stone about 5 to 8 centimetres thick and compact it with a hand tamper.
- Add the top layer of decorative gravel, about 2.5 to 5 centimetres deep, and rake it smooth.
Mind the drainage
A slight slope, about 1 to 2 percent, or a gentle crown in the middle helps water run off. Avoid creating a channel that sends water towards buildings.
Choosing gravel
Angular crushed stone locks together and is more stable underfoot. Rounded pea gravel is comfortable to look at but shifts more, so it needs good edging. Very fine stone can stick to shoes and is easily tracked indoors.
Maintenance
Rake the surface occasionally, top up thin patches, and pull weeds when they are small. A path edged and compacted well needs very little care.
A good gravel path is mostly about the work you cannot see, so take your time with the base.